Your Print Partner From Design to Delivery
Craftsmanship, expertise and support — every step of the way
Delivering the best print experiences
Explore our printing options crafted to highlight the best features of your catalogs, books and magazines.
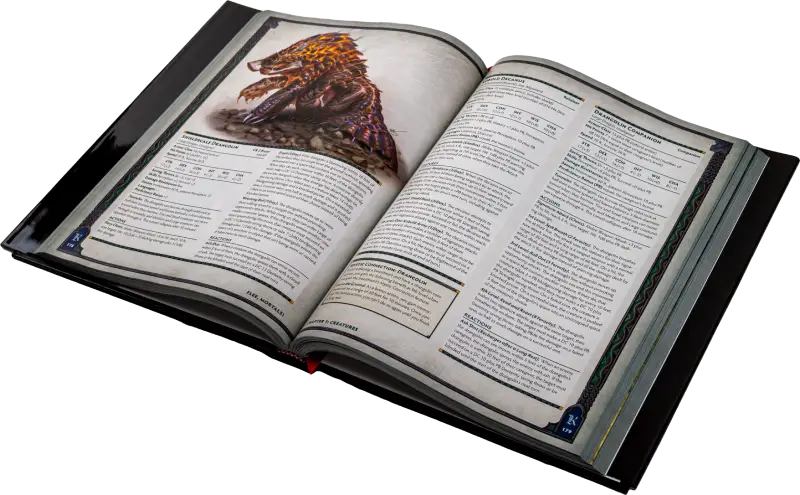
Showcase your products with custom catalog printing that captures attention and drives action. Select from a variety of sizes, finishes, and layouts to design a catalog that aligns with your brand and sales goals.
Explore Our Catalog Capabilities
Catalog
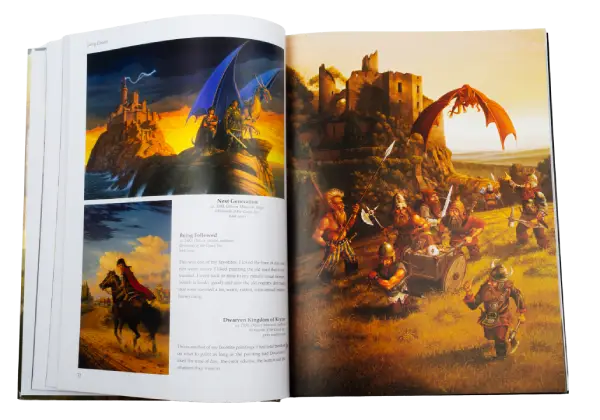
With custom binding, paper options and premium finishes, we make it easy for authors, publishers and businesses to create something they’re proud to share.
See Our Book Printing Capabilities
Book
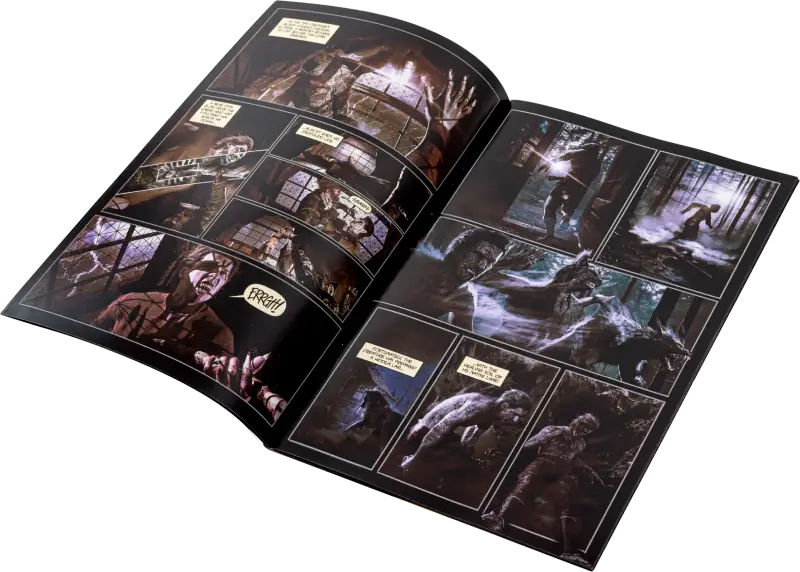
Whether you’re publishing for your brand, school or creative audience, choose from high-quality saddle-stitched or perfect bound formats to match your style and message.
Browse Our Magazine Printing Capabilities
Magazine
Feel Confident Knowing Your Print Project Is in Expert Hands
See how businesses, authors and organizations brought their print projects to life with stunning results. Check out these real-world case studies showing what’s possible when expert guidance, craftsmanship and personal support come together.
Don’t take our word for it

“You guys remind me of the old-time printers that took pride in what they did. The guy running the press – he took pride in what he did. He was dead serious. He was really friendly, but boy, I could tell he knew his stuff.”


